SSL communication
IDE version 2.5.0.x and above.
SSL (Secure Sockets Layer) and its successor TLS (Transport Layer Security) are network protocols for establishing of trusted and encrypted connections between two computers in a network. Although the SSL protocol went obsolete with the release of TLS, it is common to call these technologies as „SSL“ or „SSL/TLS“.
SSL protocols are used for two reasons:
- Identification - thanks to SSL, both client and server are sure that they talk to each other and not to a third entity which claims itself to be one of the parties.
- Encrypted communication - SSL arranges secure exchange of keys and creation of a shared secret, which both client and server use to encrypt the communication to protect the contents against reading or modification by third party..
SSL certificate
The certificates contain security elements against forging, so that every particiant of the communication can automatically verify that the certificate is valid.
Moreover, they carry information about the server they belong to - so it can be verified that the communication really follows with the server of the domain which owns the certificate. They also contain date of issue and date of validity - certificates must be renewed periodically so that they can be trusted. Last but not least, certificates also contain the public key of the owner, which allows to start the encrypted communication.
Management of SSL certificates
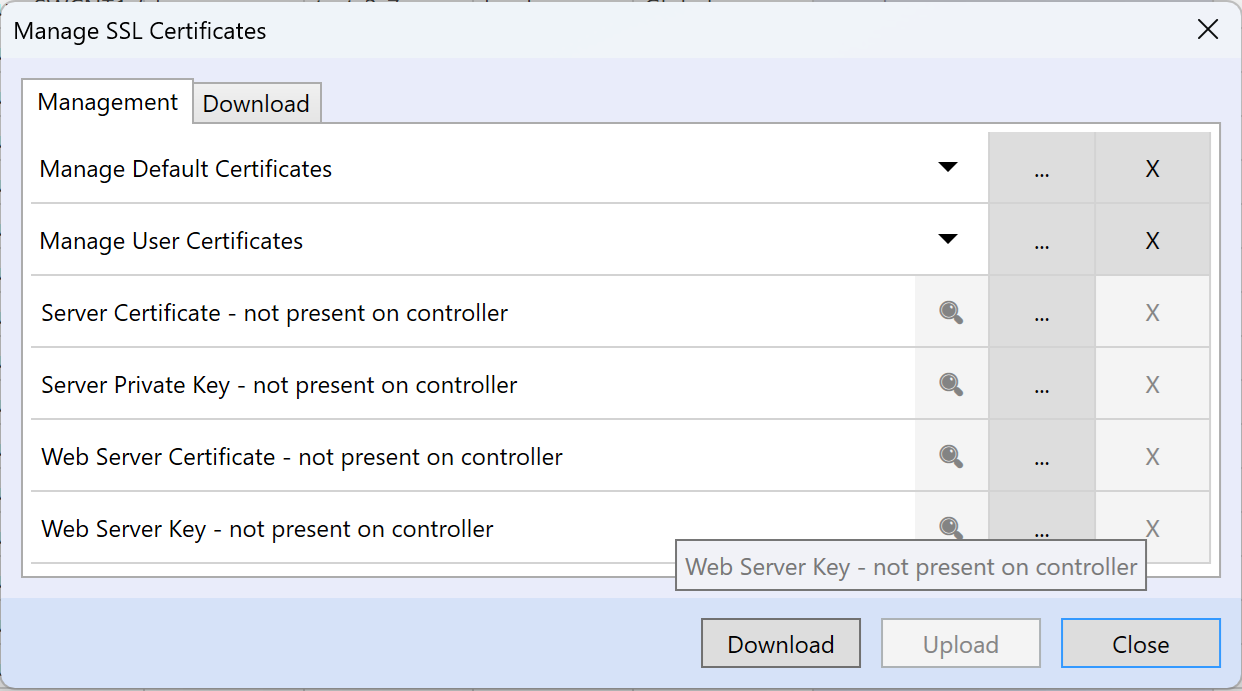
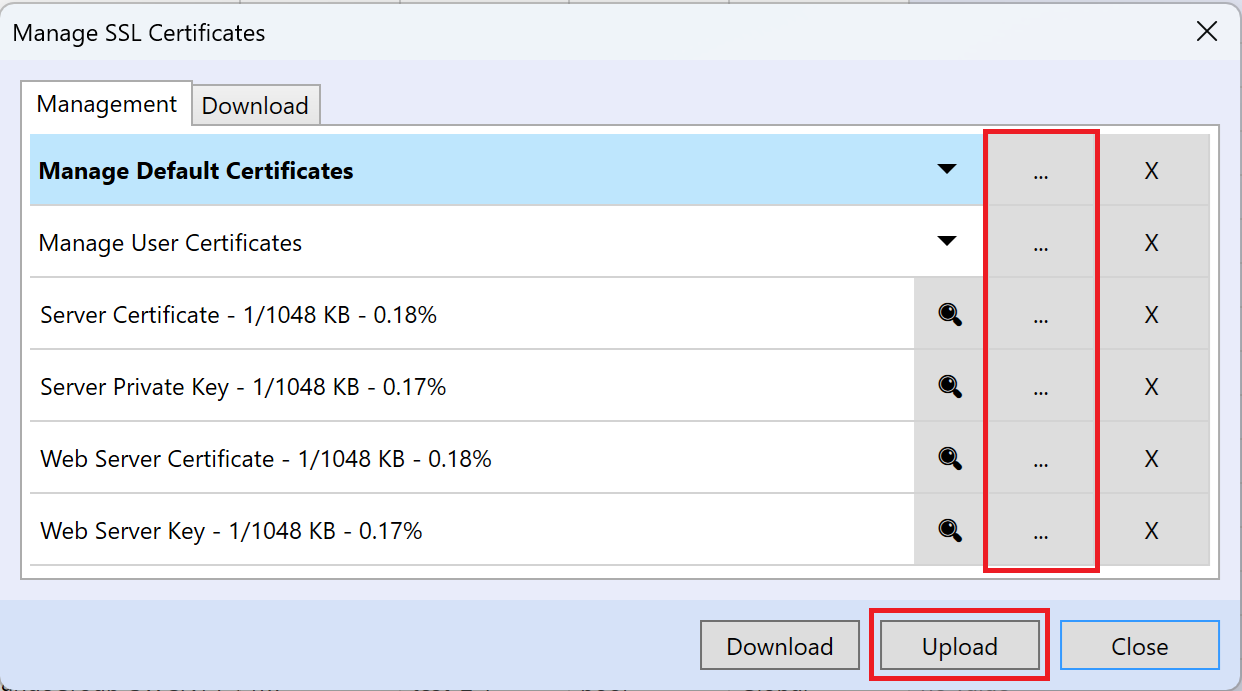
Certificates can be managed via "PLC Operations"->"Manage Certificates".
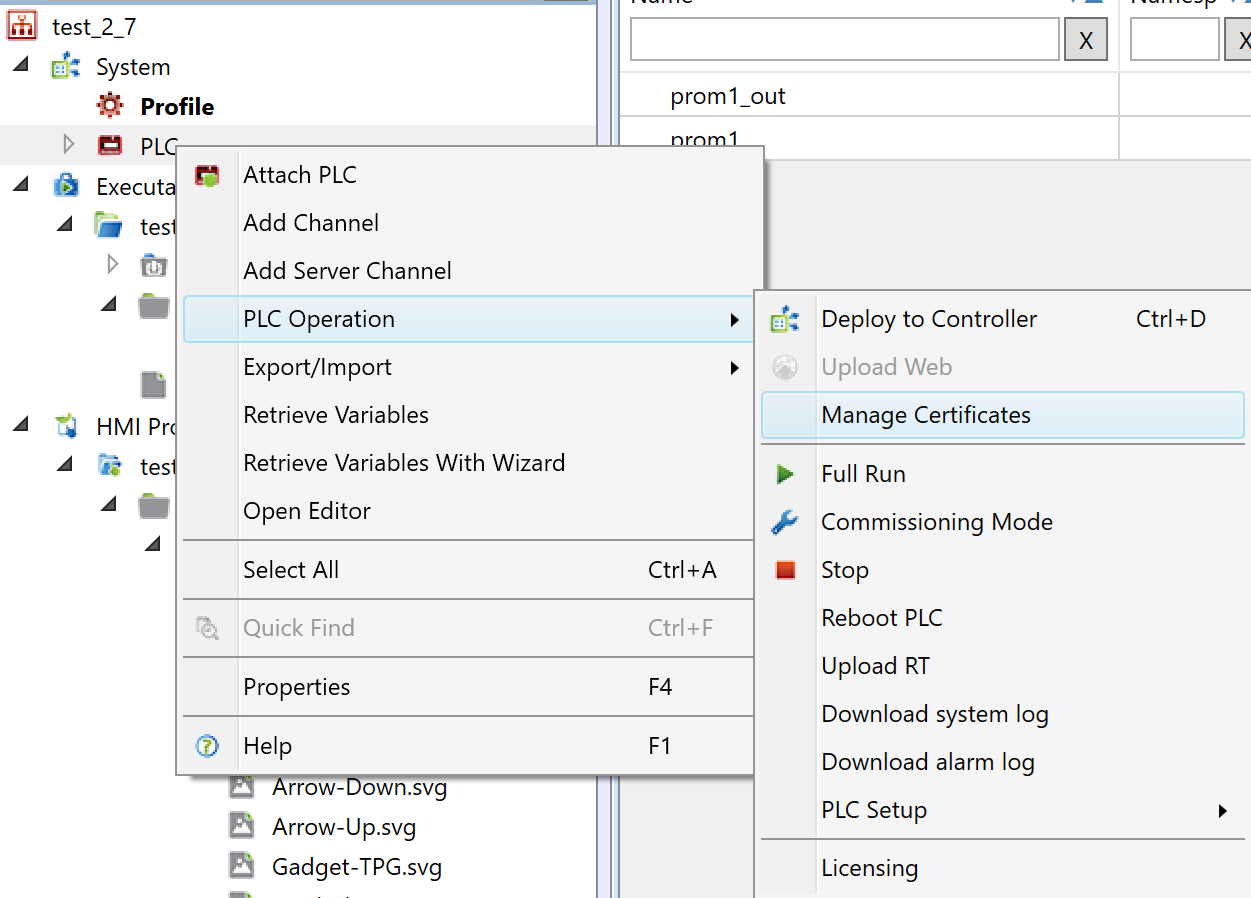
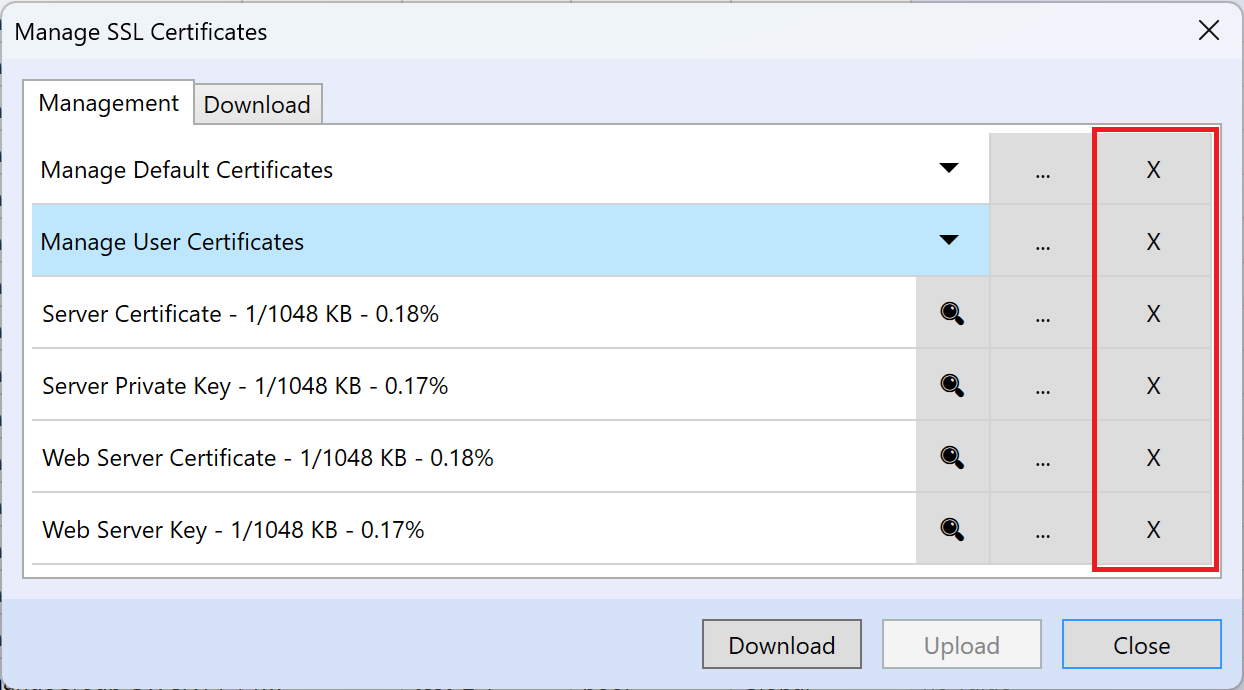
The certificate management dialog allows you to upload, delete, merge or download individual certificates.
Uploading is done by selecting the certificate via the dialog for selecting a file from the computer, when the "Upload" button becomes visible after selecting the certificate. Default certificate authority (CA), user CA, server certificate, server private key, web server certificate and web server certificate key can be uploaded.
RT must be restarted to apply the certificates.
We can also delete all items.
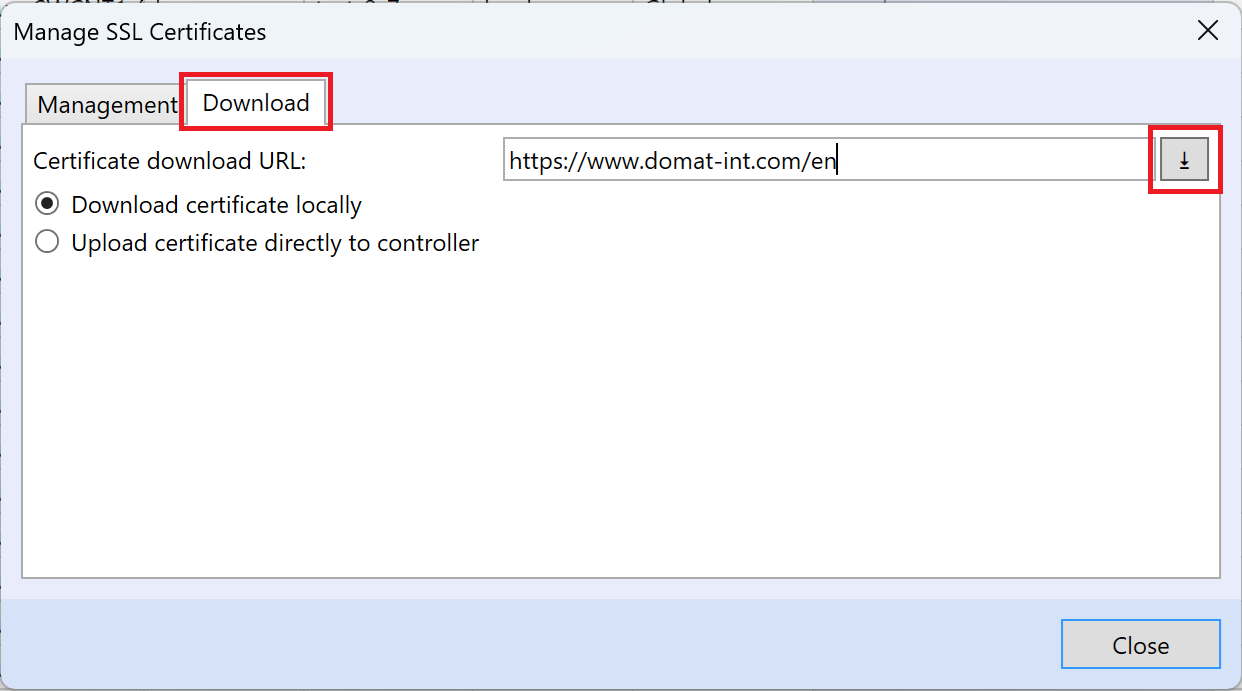
Certificates can also be downloaded directly from the website via the URL address, where we choose either to download the certificate locally to the computer, or to upload the certificate directly to the PLC.
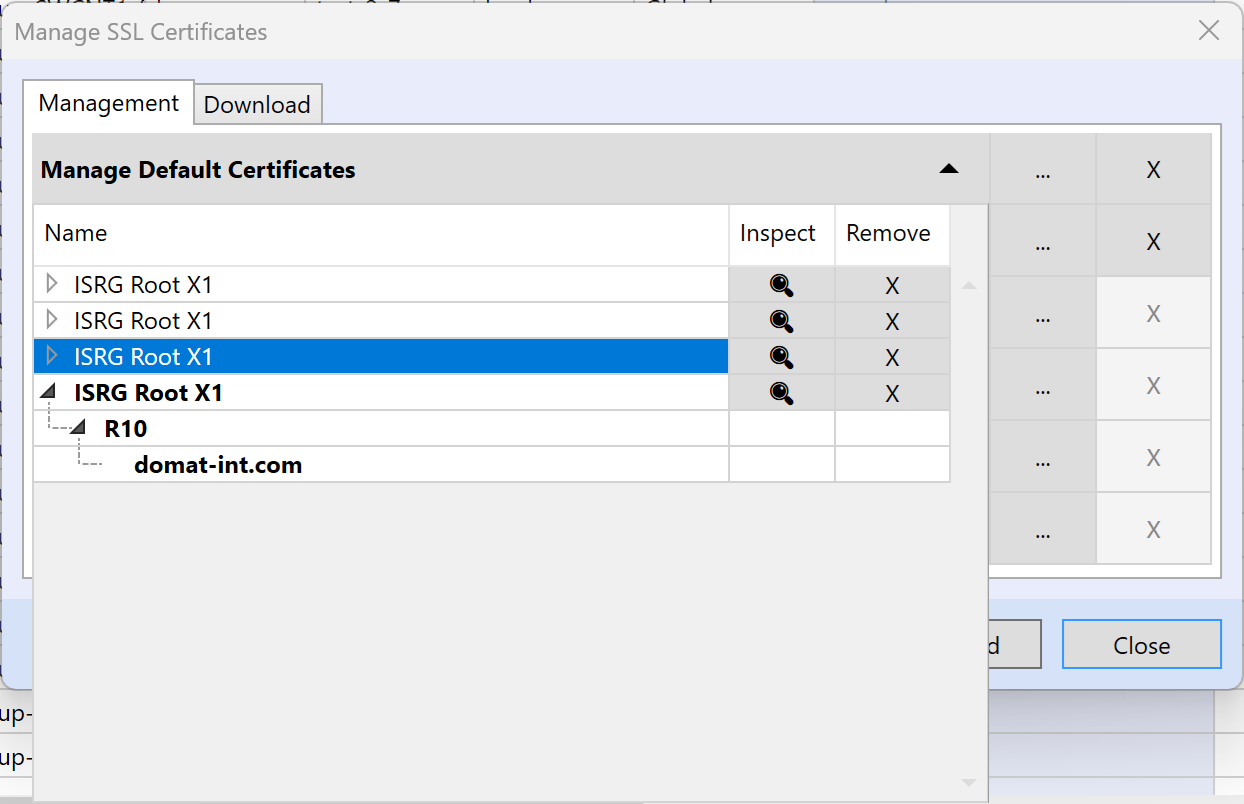
If we need more certification authorities, then for the item default or user certificates, the merging of uploaded certificates works, when after clicking on one of the items, we can display the individual certificates again, or delete the certificates.
- Default CA - a Domat CA certificate is uploaded in the production as self-signed, may be replaced by another certificate. Required for Proxy and Database connections, if Certificate Validation is checked.
- User CA - empty by default, an optional certificate of certification authority added by the user can be uploaded here
- Server private key - required for secure SSCP connection (from IDE, or other PLCs). A private key is uploaded at the production.
- Server certificate - required for secure SSCP connection (from IDE, or other PLCs). A server certificate signed by the Domat authority is uploaded at the production.
- Web server certificate and Web server certificate key - empty by default, required for secure web access (https://), must be provided by the domain owner of the domain where the PLC web server will be available (e.g. plc.company.com)
Note that all certificates do have limited validity in time and must be reissued and reinstalled periodically, otherwise the system functionality will be disabled - connections between PLCs and clients will not be possible to establish. The certificate management system shall be consulted with the IT manager of the network.
Current certificate information is also visible in the System Status when debugging the solution.

Setup of encrypted communication between PLC and IDE
After the Server certificate and Server private key have been uploaded to the PLC, the SSL server must be enabled in the PLC Properties in the SSCP Parameters section. Finally, upload configuration to the PLC.
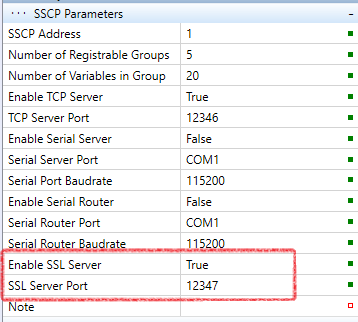
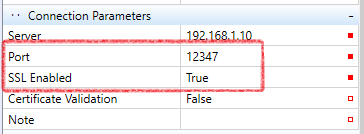
Then, in the Connection parameters the TCP port 12346 must be changed to 12347 and SSL must be enabled. Then, start debugging and check that the PLC connects and the comunication with IDE works properly.
Setup of encrypted communication between PLC and PLC
Here, one of the PLCs is a server and the other is a client.
The server setup is described above, in "Setup of encrypted communication between PLC and IDE".
In the client PLC, insert a SSCP channel, insert a device, and in the Device properties select the source PLC. Then, select one of the endpoint definitions:
- HwConfiguration - takes over the SSL settings from "Enable SSL Server" in the SSCP parameters. "SSL Port" is not used.
- Deploy - takes over the SSL Enable setting and certificate validation from the target PLC Connection parameters.
- Custom - SSL Enable setting and certificate validation can be set individually in the Device properties.
If the communication follows over a Data source, the SSL Enable setting and certificate validation is taken over the Data source properties.
Setup of encrypted communication for the database
The PC where the Domat DB is installed must be reconfigured: in the IIS Manager, change the Bindings settings:
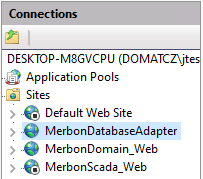
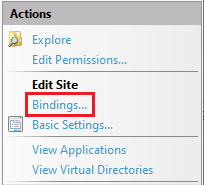
Click the home page, and go to "Webs", select MerbonDatabaseAdapter, and in Actions go to Bindings.
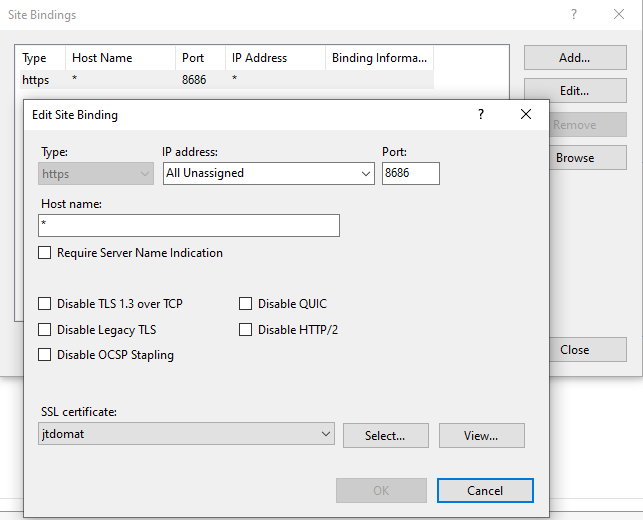
Here, add a new binding of https type, a temporary port e.g. of 8687(because of http binding duplicity) and finally select the SSL certificate. If there is no company certificate available, it is possible to create a self-signed certificate. After the binding is created, it is possible to delete the old binding. Remember to change the temporary port value to 8686.
In IDE, in the PLC properties, "Domat DB Parameters" change the URL from http to https://(IP address of the DB server):8686/spdba/save and then upload the configuration to the PLC.
Setup of encrypted communication for the Proxy
In the Proxy Parameters section enter the Proxy ID, and URL as https://(proxy_ IP):12349/, certification validation if required, and upload the configuration to the PLC.
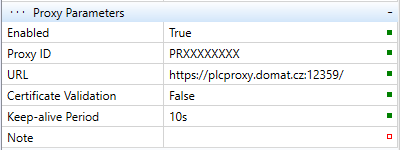
Next, in the PLC connection parameters change the type from TCP to Proxy. In the Connection parameters fill in the proxy URI as tcps://(proxy_IP):12348 and enter the Proxy ID same as in the Proxy Parameters.
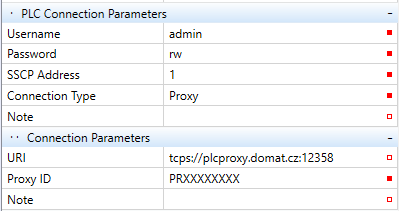
Click Start debugging to connect to the PLC over a secure connetion to the proxy server.
Setup of encrypted communication for SMTP
For this, a PLC is necessary with the default certification authority uploaded from the factory, or upload your own certification authority.
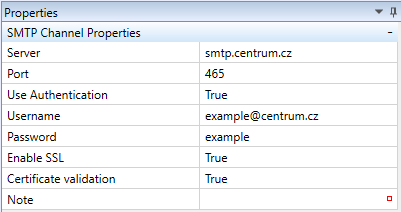
Next, in the PLC in Messaging insert a SMTP alarm channel, and in its properties enable SSL, and certificate validation if required. The port may be 587 or 465 according to the SMTP server settings (must be provided by the mail service provider).
Confirm changes and upload the solution to the PLC.
Example for certificate validation for smtp.centrum.cz
We set the properties of the SMTP channel.
To download the SMTP certificate, we can use e.g. OpenSSL, which we need to download and install.
After installation, we open "Win64 OpenSSL Command Prompt"
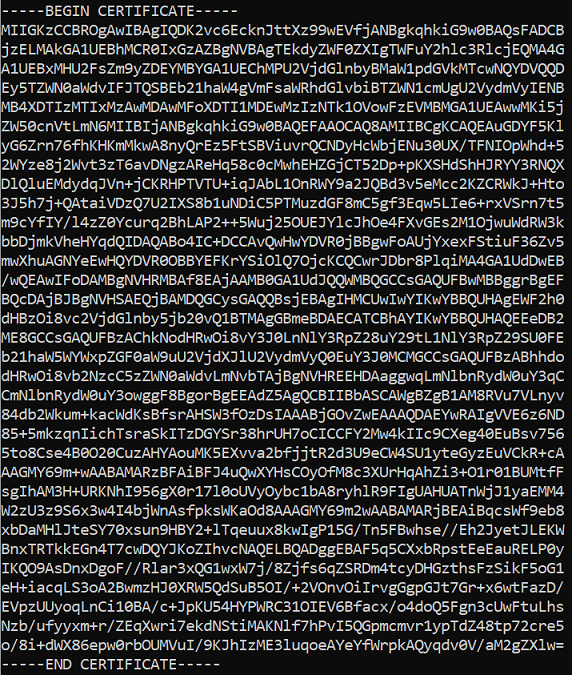
We enter the command: openssl s_client -connect smtp.centrum.cz:465

Here we will be mainly interested in the server certificate, which we will copy and paste into a notepad or Notepad++. We then save this file, for example, as smtp_centrum.cer.
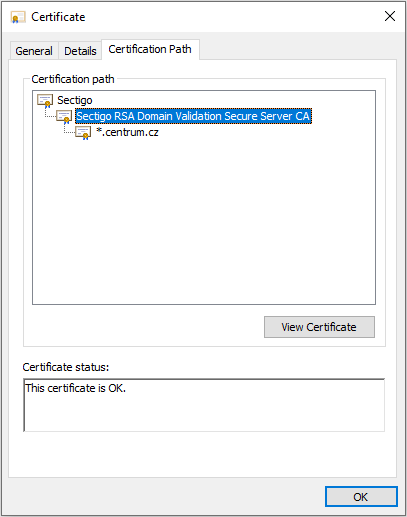
After opening the certificate, we click on the "Certification Path" tab, here we are not interested in the end address, but only the path to the certification authority, in this case "Sectigo RSA Domain Validation Secure Server CA".
Click on "View Certificate"
Switch tab to "Details"

Click on "Copy to File..."
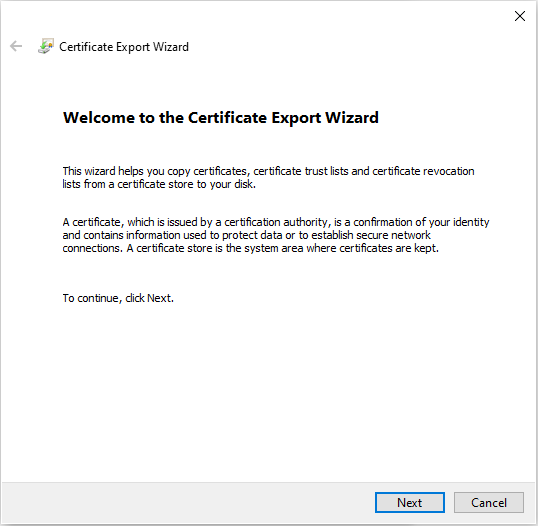
It will open for us "Certificate Export Wizard". Click on "Next"
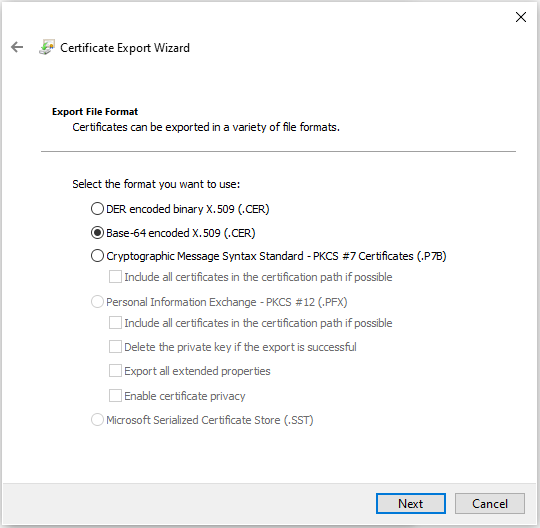
We select format "Base-64 encoded X.509 (.CER)" and click on "Next".
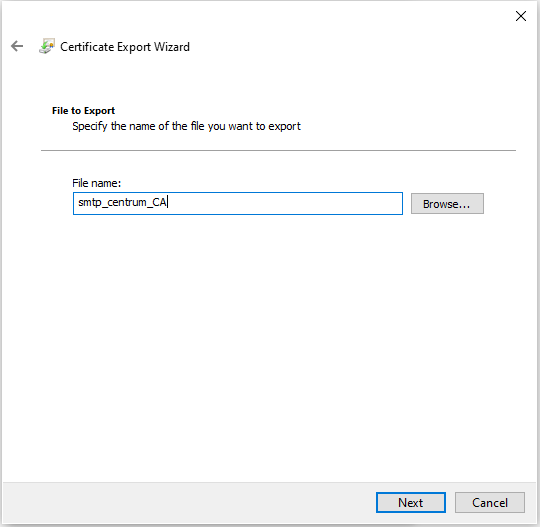
We name the certificate with the certification authority and click on "Next".
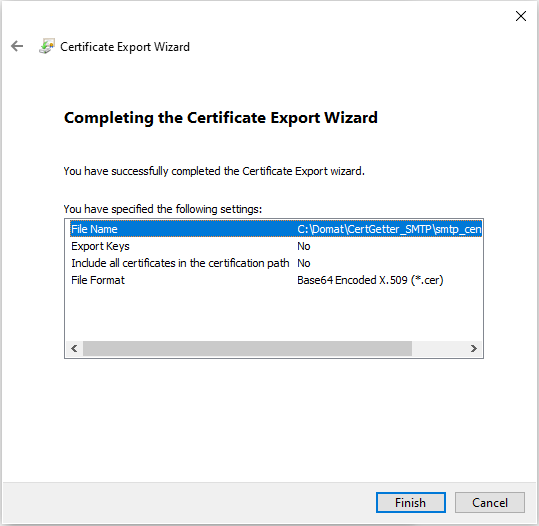
We check the certificate export settings and click on "Finish".
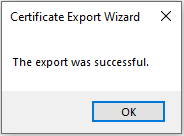
Finally, we should see a dialog about the successful export of the certificate.
We will then upload this exported certificate to the PLC as certification authority.
Setup of HTTPS for the web server
To change the web server from HTTP to HTTPS, you need to perform the following actions:
Upload the web server certificate and its key to the PLC via the "Upload certificates" dialog.
Install a certificate authority for the web server certificate among "Trusted Root Certification Authorities".
We'll start by right-clicking on the Certificate Authority certificate for the web server certificate and selecting "Install Certificate".
Next, select the storage location (Current User/Local Machine) and click on "Next".
Here we select the option "Place all certificates in the following store", where after clicking on "Browse..." we select "Trusted Root Certification Authorities" and then click on "Next".
Finally, click on "Finish".
In the directory C:\Windows\System32\drivers\etc\hosts add the name of the web certificate for the IP address of our PLC.
Upload the configuration for HTTPS to the PLC.
Upload web server to PLC.
After successful setup, we should be able to access the website via the link https://"web certificate name" (e.g. "https://web_cert.domat.cz").
The default HTTPS port is 443; if another port number shall be used, a rule must be added to the firewall settings in the PLC (use WinSCP and edit the Linux firewall configuration file).
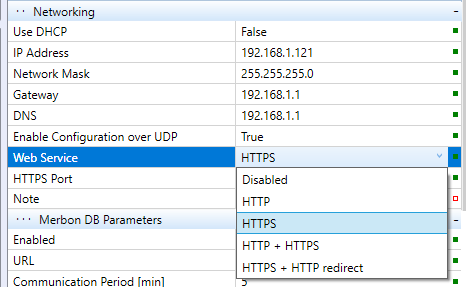
The web server in the PLC runs in the following modes:
- Disabled - no web service allowed
- HTTP - unsecured connection
- HTTPS - secured connection only
- HTTP + HTTPS - both connection types available
- HTTPS + HTTP redirect - if a http connection is attempted, the browser is automatically redirected to https (recommended).
 Remember to upload the configuration to the PLC after all settings are done.